Build a Nextjs app with Supabase Auth, easy.

We will use Shadcn/ui for the UI components and create mostly client-side components.
We will look at server-side components another time.
We will use pnpm as package manager. Make sure you have at least:
- Node.js 22 or later
- pnpm 9 or later
To create the project, we will execute the following command in the terminal:
You can accept the default options in the prompts you see on the screen.
Then we initialize the Shadcn/ui configuration.
You can accept the default options in the prompts you see on the screen.
This will create a components.json file with the instructions for the Shadcn/ui CLI.
Then we will add some normalizations to layout.tsx by applying the cn usage to combine plain text and variables in the HTML tag classes.
Replace the contents of the layout.tsx file with the following code:
As a last step in the configuration, we must extend configure theme.extend.fontFamily in tailwind.config.js.
The final contents of tailwind.config.ts should be as follows:
The easiest way to test that everything is OK is to remove the content of the main component app/page.tsx and add a Shadcn/ui button.
First run the following command in the terminal:
Puedes observar en components/ui que se ha creado un archivo button.tsx con el componente deseado.
Elimina el contenido de app/page.tsx conservando la etiqueta main e instancia un botón.
Debera quedarte algo asi:
And in your browser you should see something like this:

We are going to create an app with a registration / login page and a layout for the authenticated user. We will see in detail later what we are talking about.
Let's define the initial structure of the project
Inside app we will create the following directories and page.tsx files
- app
- auth
- page.tsx
- user
- page.tsx
- auth
Let's start shaping our login form.
First we need to install some Shadcn/ui components, execute the following commands
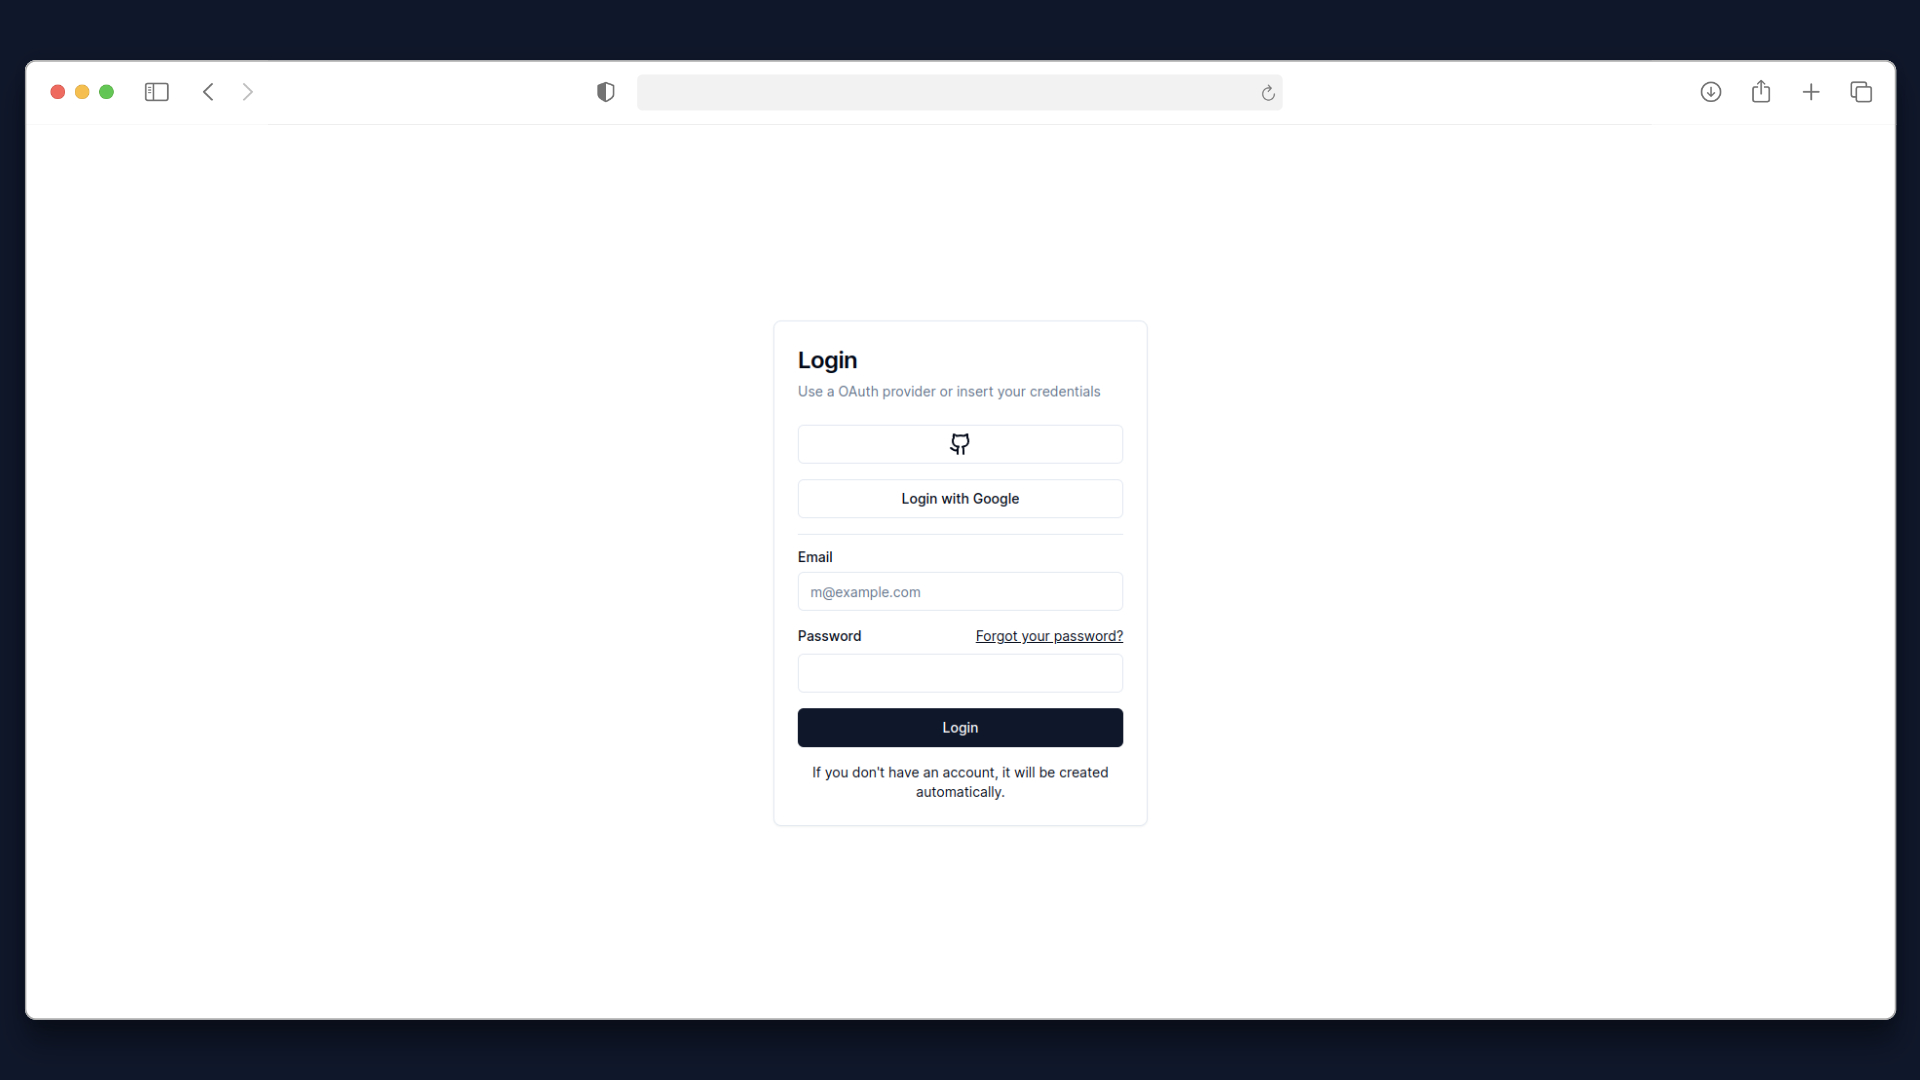
Then define the app/auth/page.tsx component in the following way:
In the browser, on https://localhost:3000/auth you should see something like this:
Supabase
We need to create a Supabase project to serve as a backend for our app.
Visit database.new, if you don't already have one, create an account, and follow the instructions to create a new project.
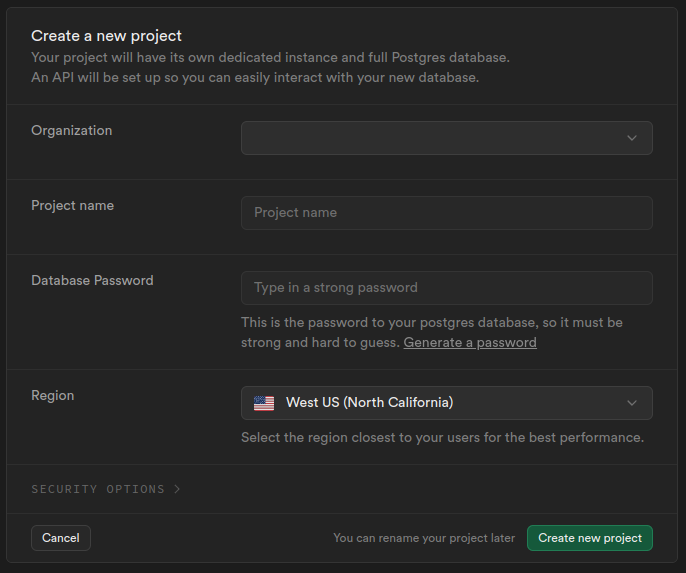
While the project is setting up, you will see the following screen:
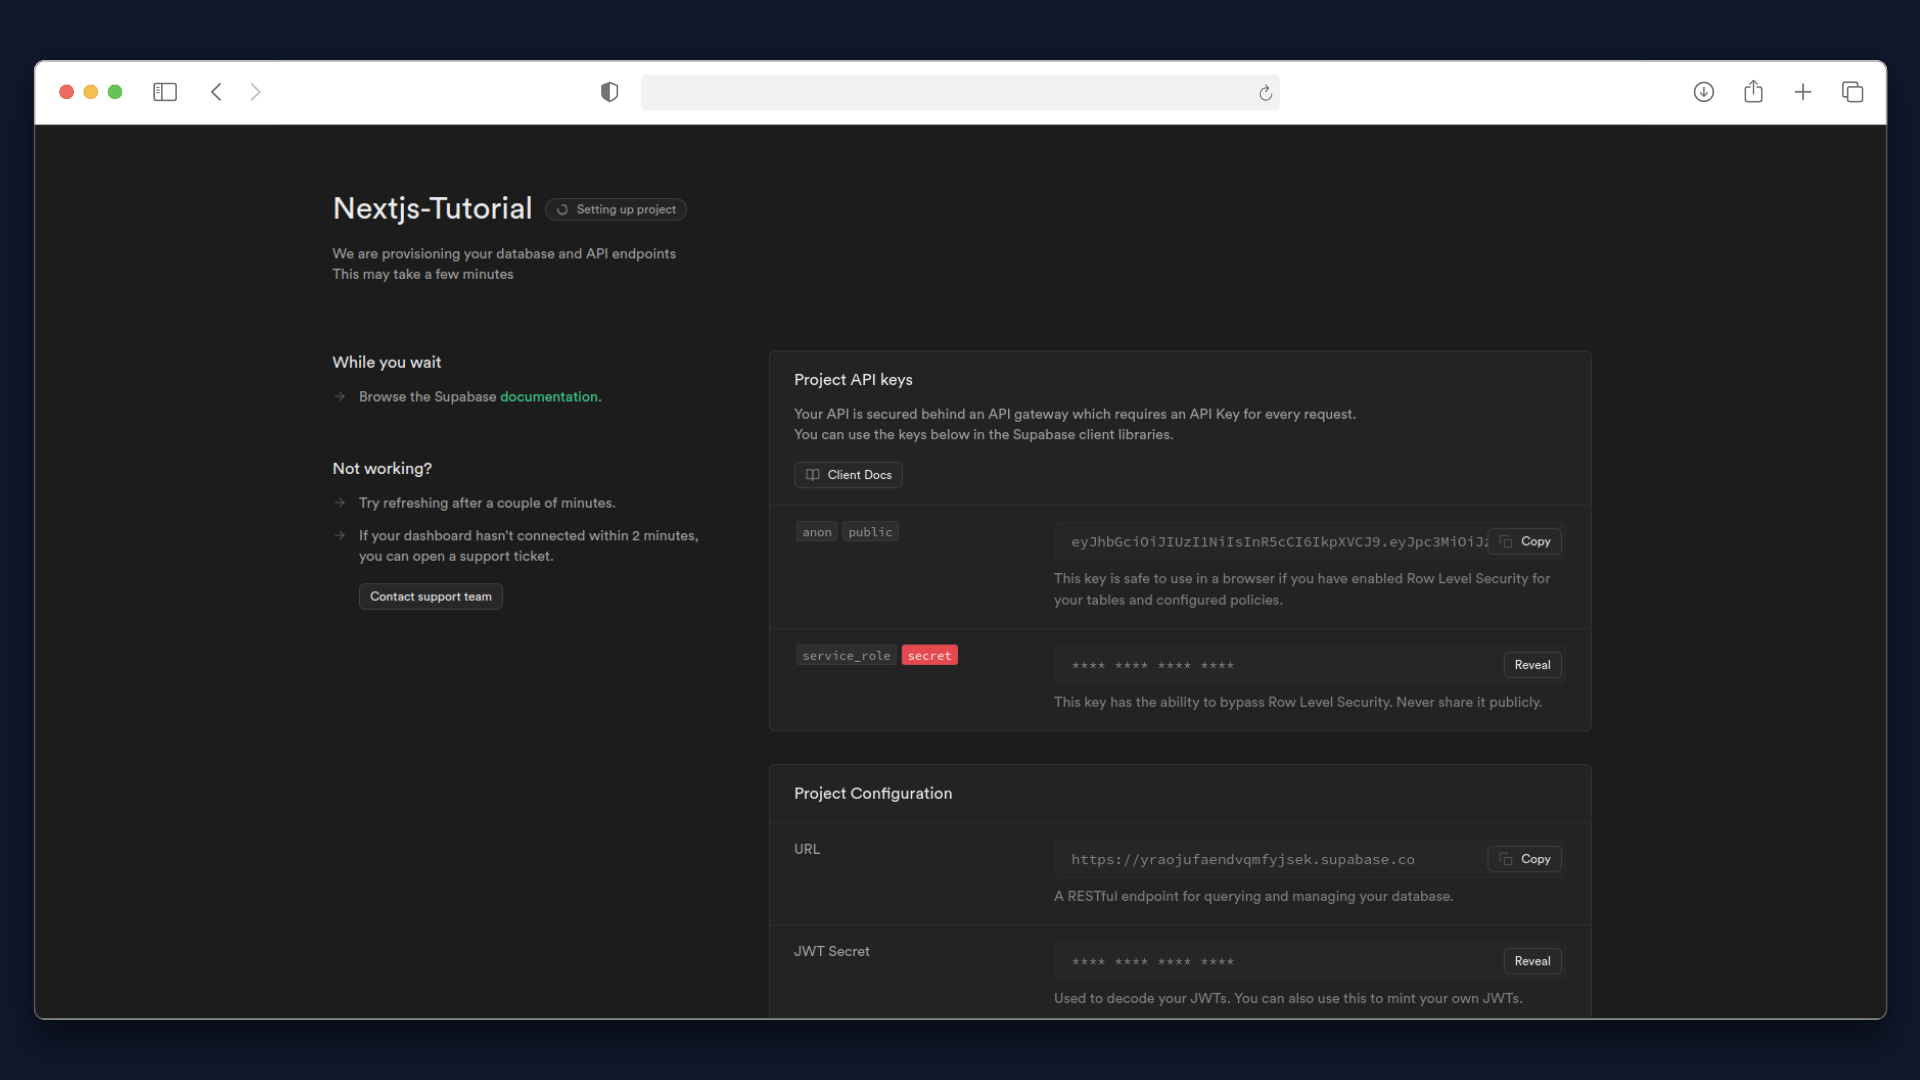
Once the project is created, you must to go to Authentication -> Providers
For our app we will GitHub and Google as OAuth providers
Let's start by creating a Google Cloud project to link to Supabase. This will help us to accept registrations from users using Google as an OAuth provider.
Name the project whatever you like.
It usually takes a few seconds to create the instance.
Then in Credentials Consent, making sure you are in the new project (you can see the selected project in the Input Select in the upper left corner, next to the Google Cloud logo), you should select External.
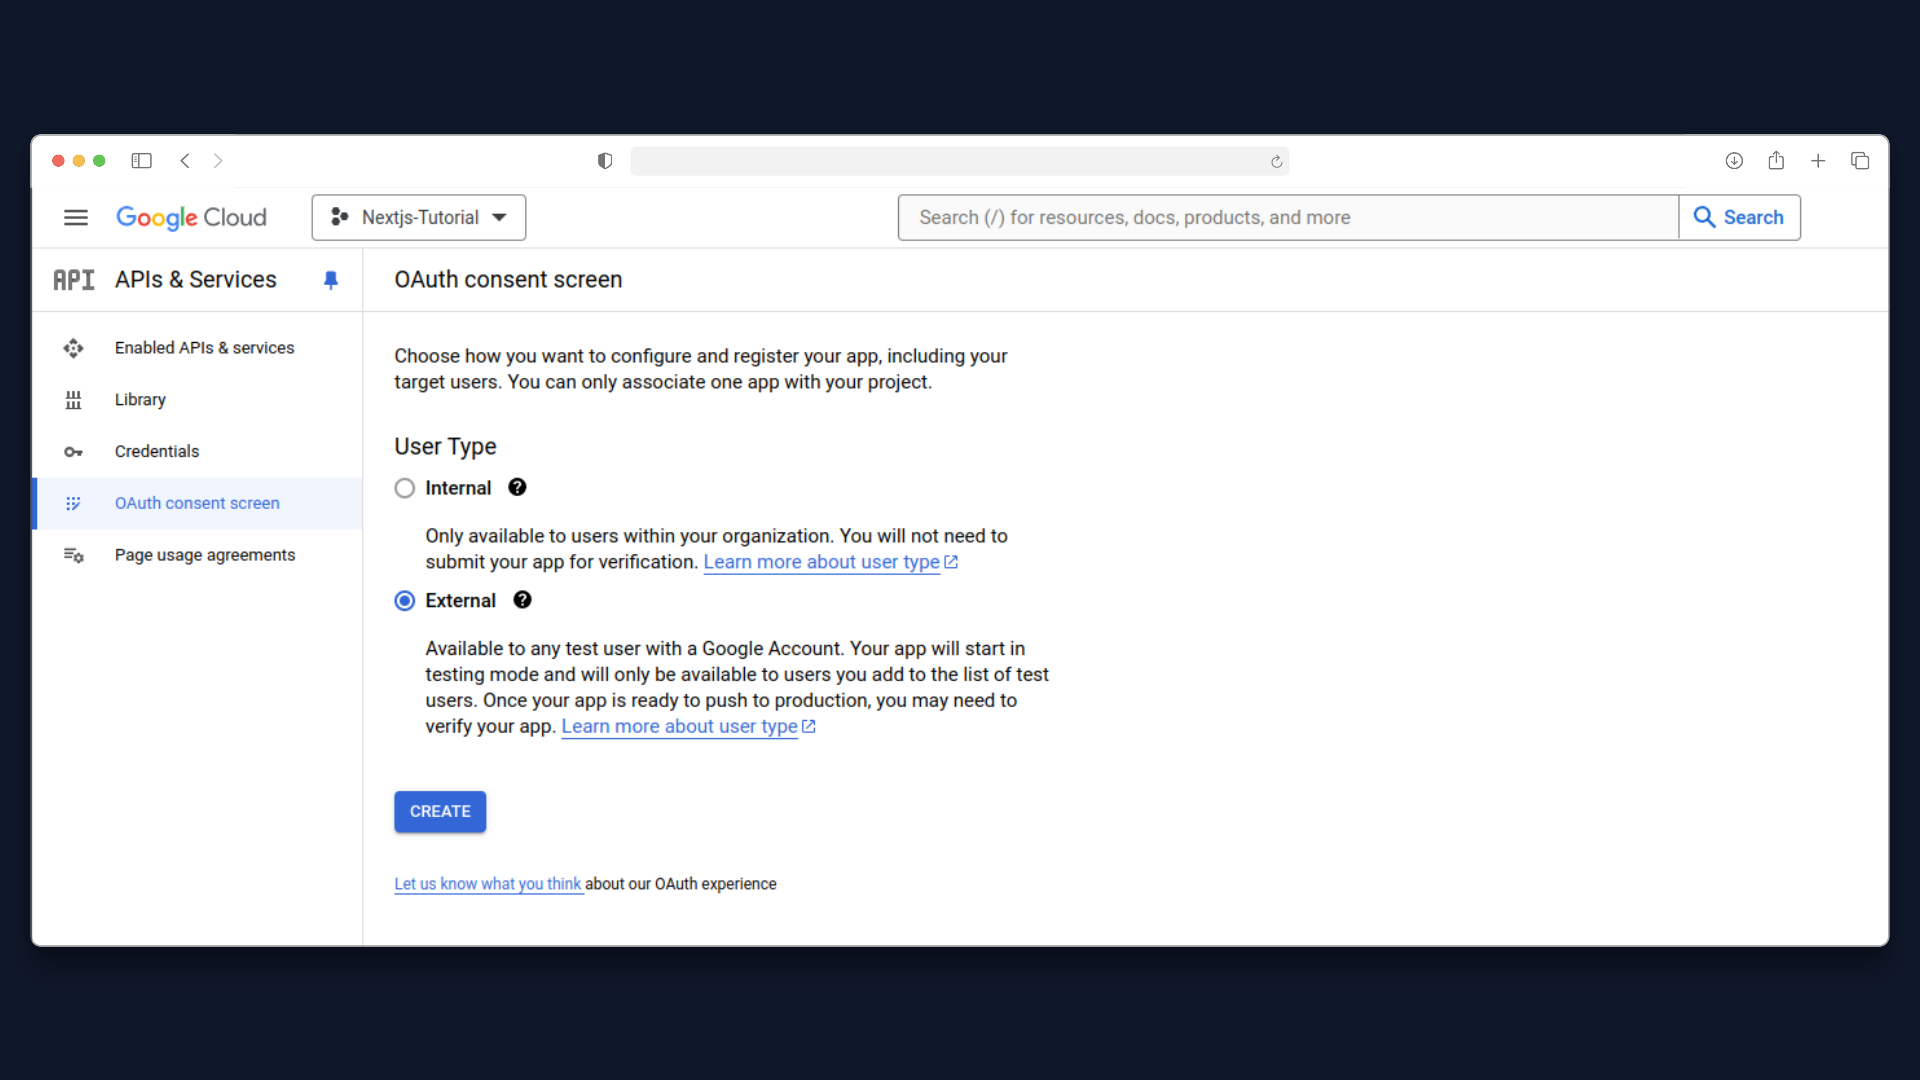
Then click on CREATE.
Specify a name for the App and select your email as support email and Developer contact information at the bottom of the page.
In Authorized domains click on ADD DOMAIN and enter the Supabase project URL.
You can find it in Project Settings → API and it has the format <PROJECT_ID>.supabase.co.
You should not indicate the protocol (https://)
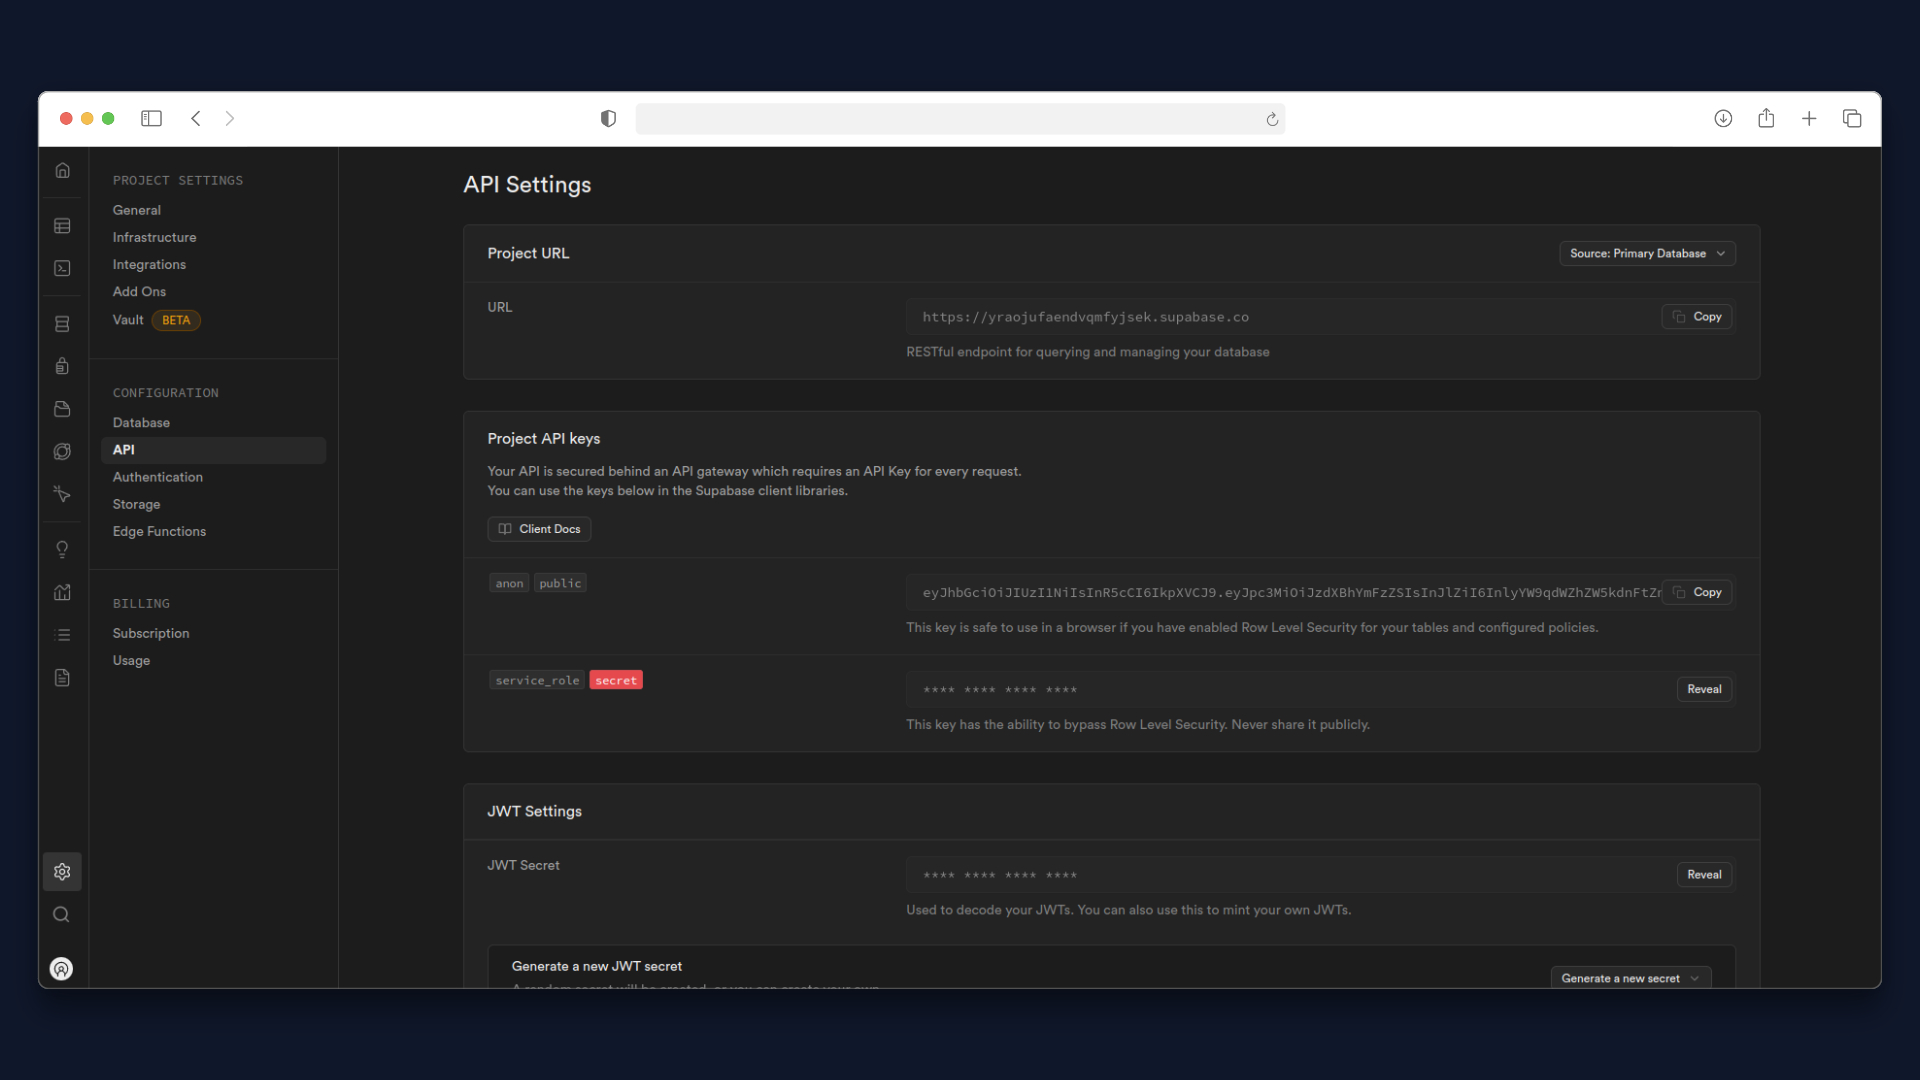
Then click on SAVE AND CONTINUE.
Click on ADD OR REMOVE SCOPES and select the first three
-
…/auth/userinfo.email
-
…/auth/userinfo.profile
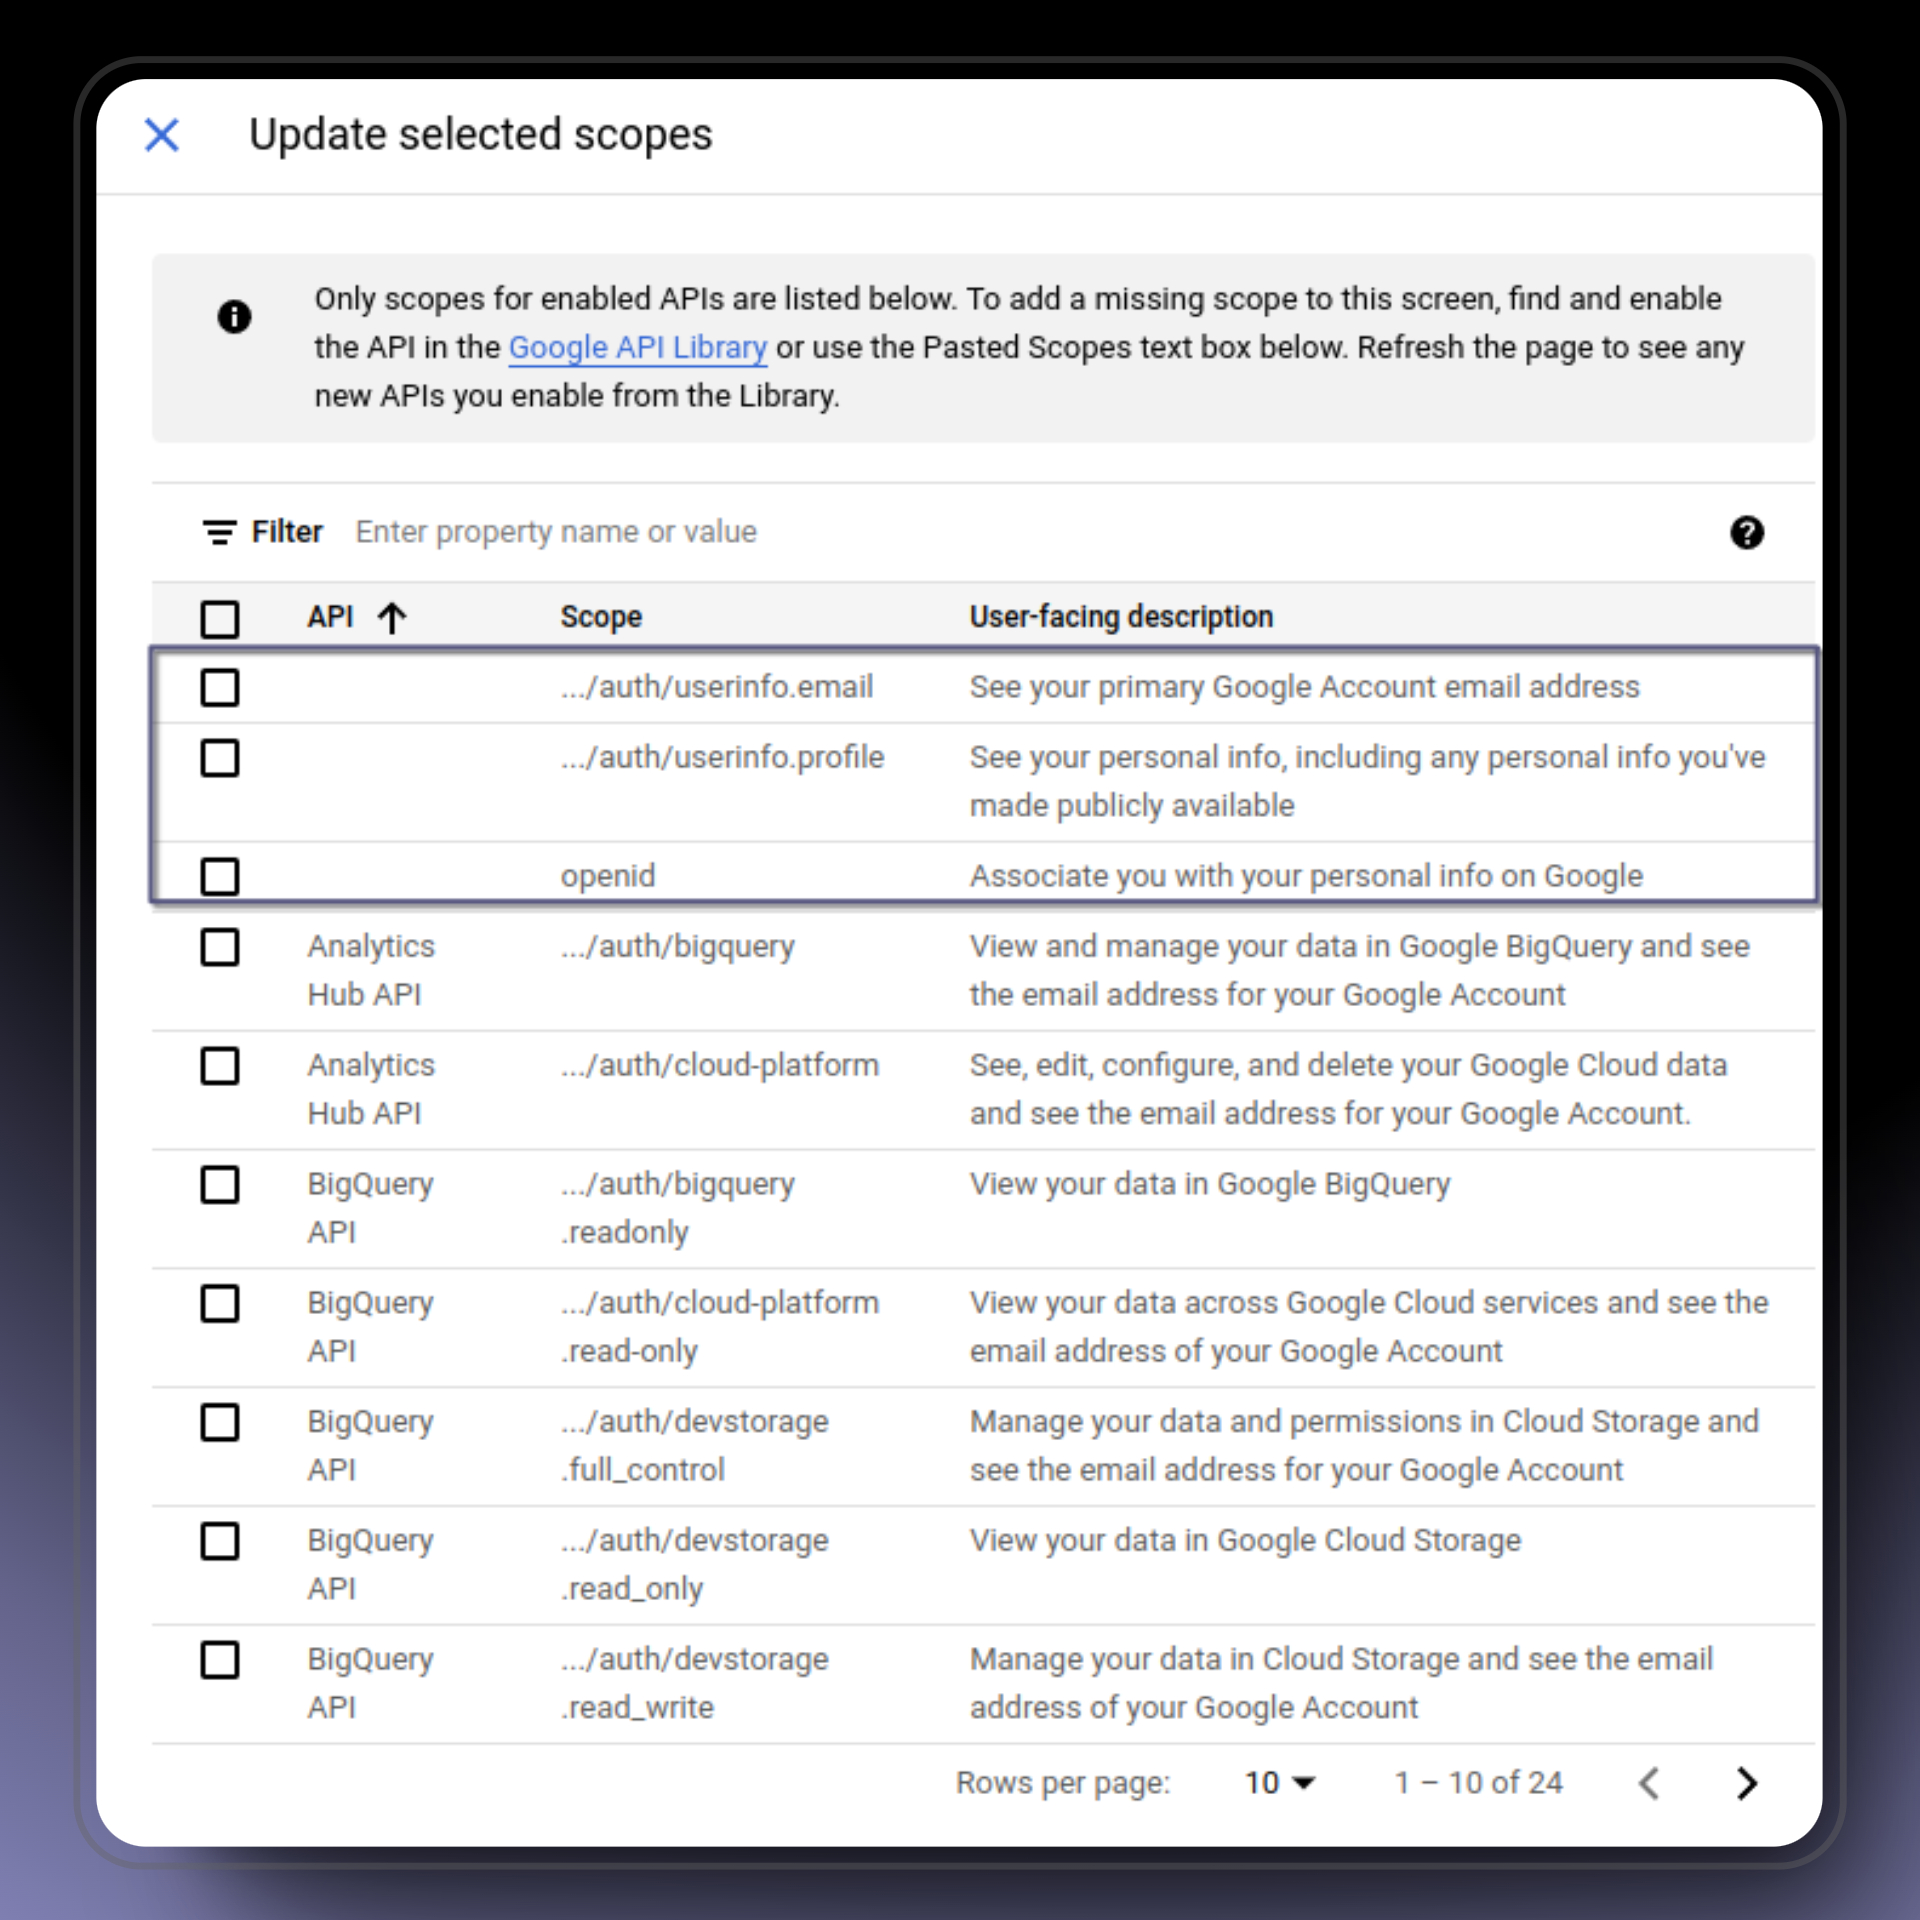
Then click on SAVE AND CONTINUE.
Go to https://console.cloud.google.com/apis/credentials
Click on CREATE CREDENTIALS and choose OAuth client ID..
Under Application Type select Web Application.
Specify a client name (only identifies the OAuth client will not be shown to the user).
In Authorized JavaScripts origins you must indicate the URL of your application. Start by registering your localhost.
In Authorized Redirect URIs you will register the Callback URL of supabase <PROJECT_ID>.supabase.co/auth/v1/callback.
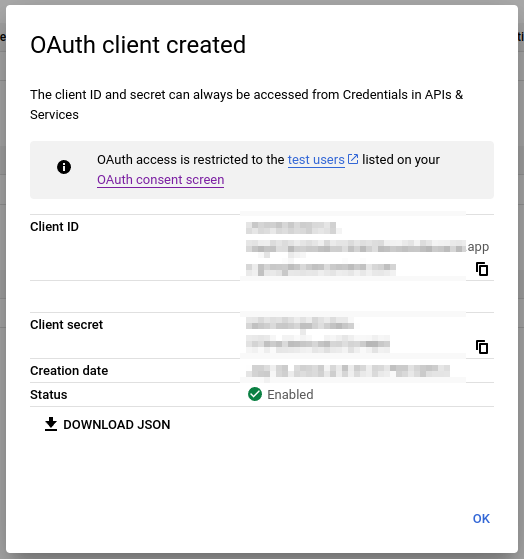
You must copy the Client ID and Client secret and enter them in the Google section of Supabase.
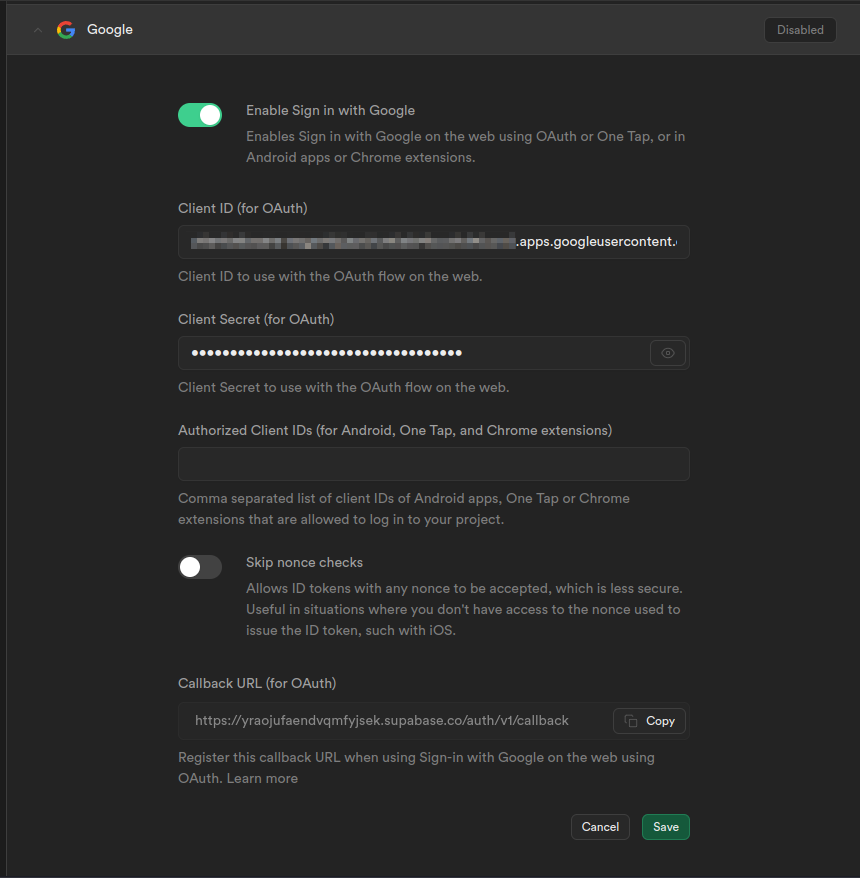
Click on Save.
Google is ready to go! We go to GitHub and at the end we implement the behavior of both options in the app.
GitHub
From the GitHub section in Supabase, copy the Callback URL ( it is the same one we use for Google ).
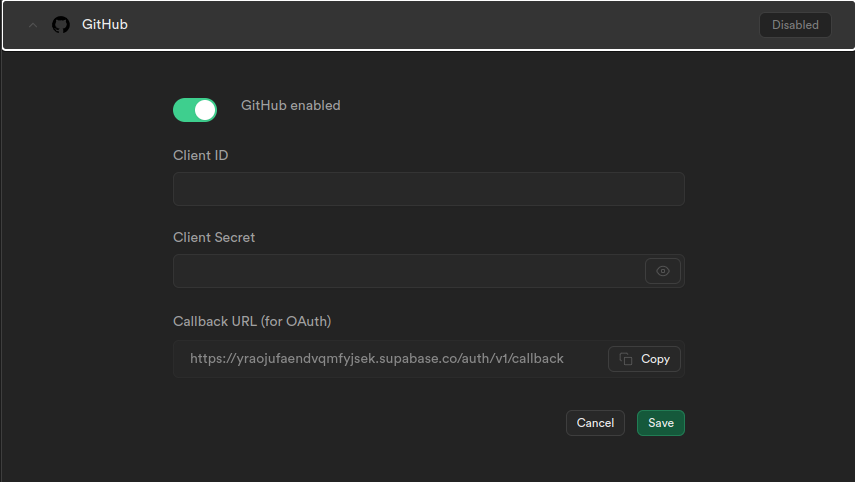
Leave this tab open, we'll be right back.
Let's create the GitHub app, just like we did with Google.
Go to https://github.com/settings/applications/new
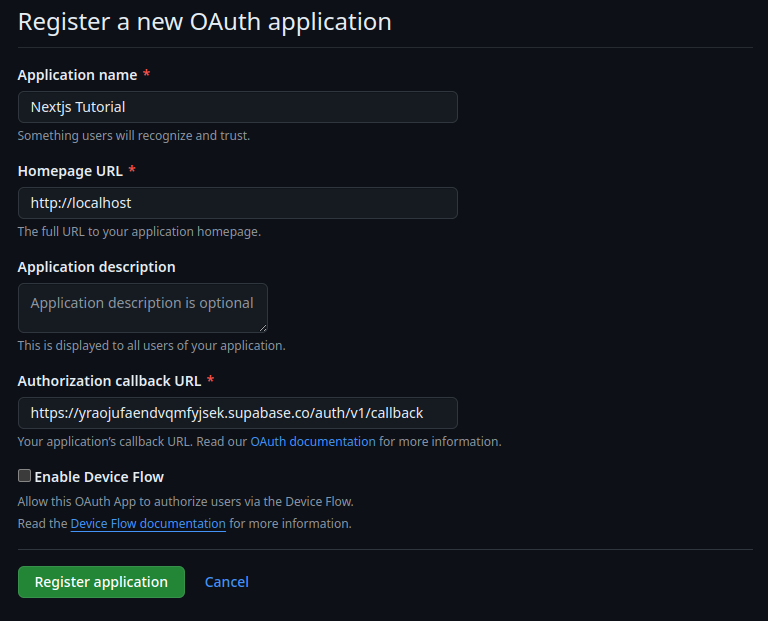
Specify the data of your new App and click on Register application.
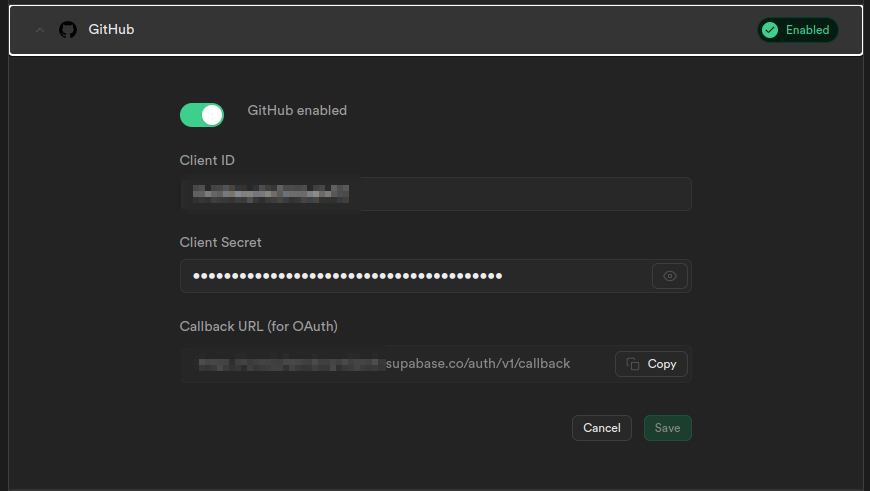
Next you will see the general page of your app with the Client Id, and you will see a button Generate a new client secret, click on it.
Register the Client Id and the new secret in Supabase, just like we did with Google.
Then click on SAVE and you're ready to go.
Introduce Supabase to Nextjs
It will be the beginning of a long and fruitful relationship.
Let`s begin by installing the Supabase client.
You have to create a .env file in the root of the project with the following content:
Replace
<PROJECT_ID>and<ANON_KEY>with the values of your Supabase project.
Make sure to add the .env file to your .gitignore file. You don't want to expose your keys to the public.
Now we will to create the Supabase client.
Create a file lib/supabase/client.ts with the following content:
This client will help us to interact with Supabase from the client side.
Now we will create a context to share the session and the client with the rest of the app.
create a file in /context/index.tsx with the following content:
This context will help us to share the session and the user with the rest of the app.
Now we will create a hook to use the session and the user in the components.
Create a file in /hooks/useAuth.ts with the following content:
This hook will help us to use the session and the user in the components.
Now we will create a component to show the user information and the sign in and sign out buttons.
Create a file in /components/UserInfo.tsx with the following content:
WORK IN PROGRESS...